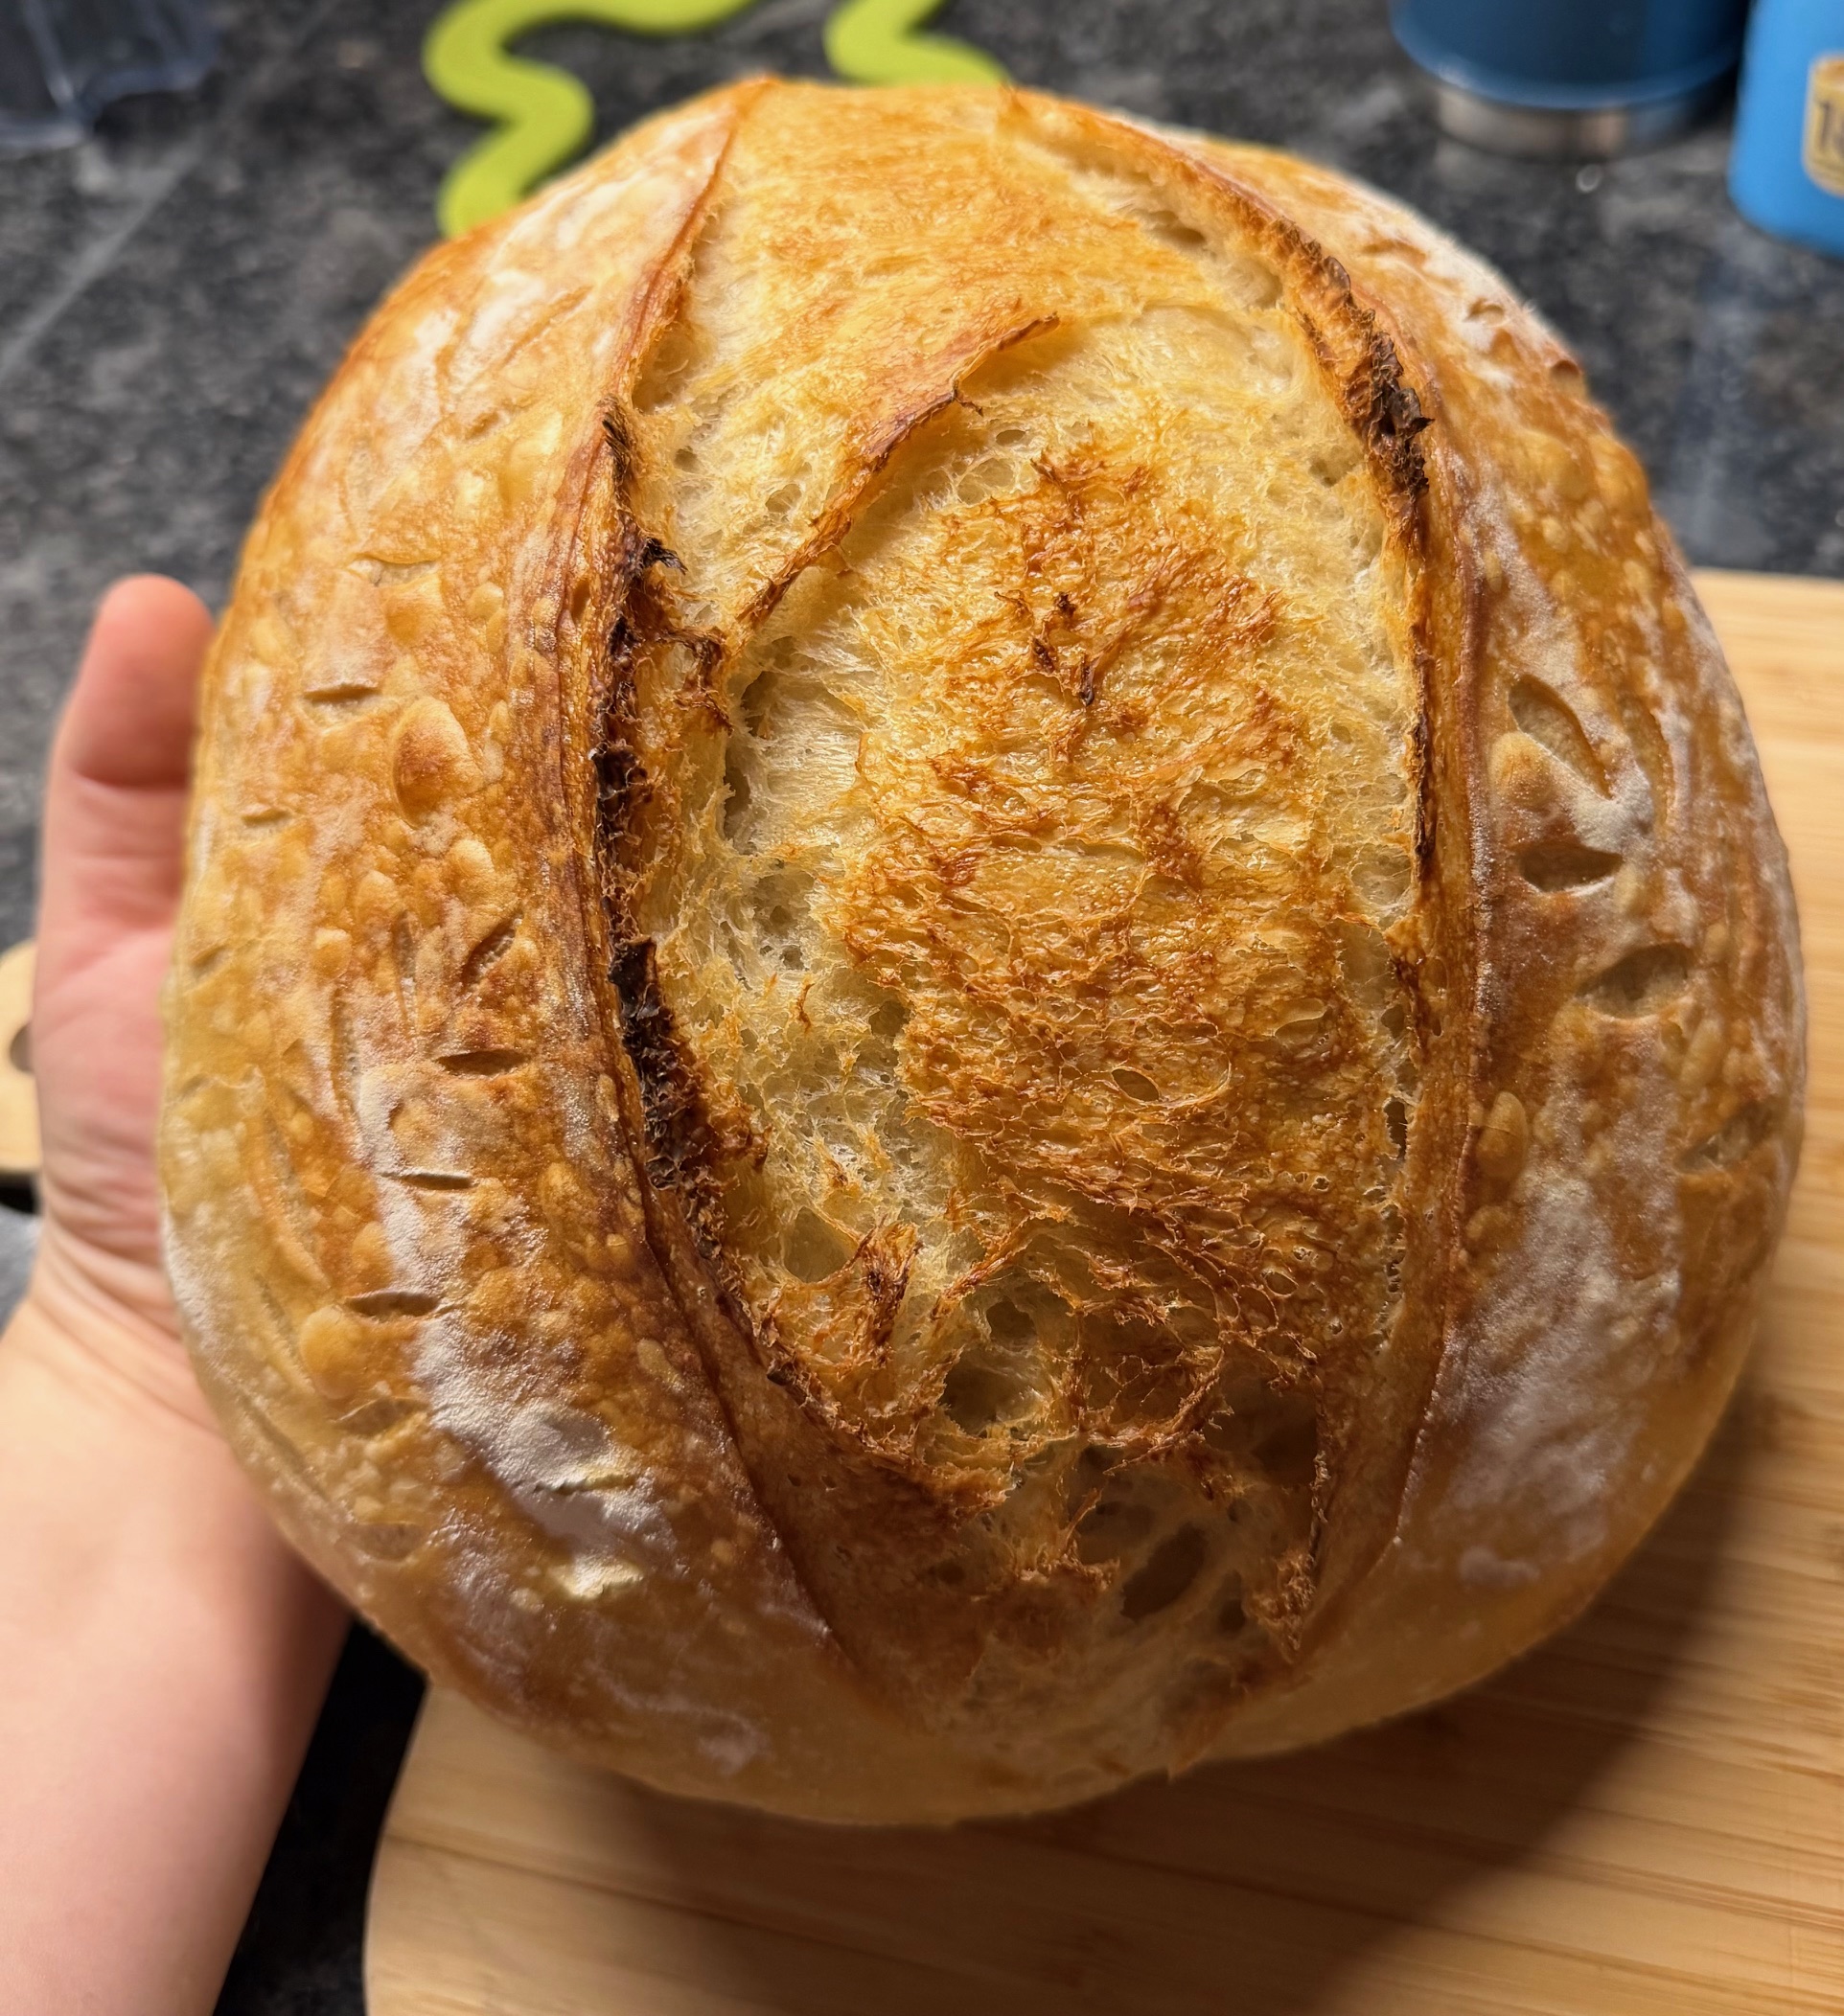
Pão de massa-mãe / Sourdough bread
Descobri esta obsessão por massa mãe há pouco tempo e, desde então, faço pão praticamente todos os fins de semana. Uso uma massa mãe que me foi oferecida por um colega de trabalho, depois de ter falhado redondamente na tentativa de criar a minha própria em casa. A massa mãe que uso é muito especial. É um verdadeiro “ser vivo” que precisa de cuidado, atenção e alguma dedicação para se manter ativa. Tenho a sorte de trabalhar com uma massa mãe com mais de 45 anos, criada em Itália, e tudo indica que a sua resiliência é mesmo o seu nome do meio. Uso-a sobretudo para fazer pão e focaccia, e cada fornada continua a parecer um pequeno milagre caseiro. I discovered this obsession with sourdough not long ago, and ever since then I’ve been baking bread almost every weekend. I use a sourdough starter that was given to me by a coworker, after failing miserably when I tried to create my own from scratch. The starter I use is very special. It’s a true “living being” that needs care, attention, and dedication to stay active. I’m lucky enough to be working with a starter that is over 45 years old, originally created in Italy, and it truly seems that resilience is its middle name. I mainly use it to make bread and focaccia, and every bake still feels like a small homemade miracle.
-
Misturar a água e a massa mãe: Numa taça, coloque a água e a massa mãe ativa. Misture até a massa mãe se dissolver completamente na água. O líquido deve ficar com um aspecto semelhante ao leite.
-
Adicionar farinha e sal: Acrescente a farinha e o sal, misturando até não haver farinha seca visível. Neste estágio, a massa pode parecer estranha e cheia de grumos, mas isso é totalmente normal. Junte toda a massa no centro da taça, cubra com um pano húmido e deixe repousar por 1 hora.
-
Primeiro “stretch and fold”. Realize os chamados “stretches”: estique a massa puxando-a das laterais da taça e deixe-a cair de volta no centro. Repita até a massa começar a oferecer resistência. (Dica: procure vídeos de “stretch and fold” nas redes sociais para compreender melhor o movimento.) Cubra novamente e deixe repousar por 30 minutos.
-
Repetir o stretch: Repita o processo de stretch e deixe repousar mais 30 minutos.
-
Primeira série de dobras (folds): Faça as chamadas “folds” conforme indicado nos vídeos de referência. Assim que a massa mostrar resistência, pare, cubra e deixe repousar por mais 30 minutos.
-
Segunda série de dobras e final da fermentação: Repita o processo de folds, deixe repousar e permita que a fermentação termine.
-
Sinais de fermentação completa.
A massa está pronta quando: Cresceu significativamente. Descola facilmente das paredes da taça. A superfície não gruda nos dedos. Ao sacudir levemente a taça, a massa treme como gelatina.
-
Dar forma: Divida a massa e molde os pães (esta receita rende 2 pães). Coloque-os nos cestos de fermentação.
-
Fermentação no frigorífico: Leve os pães ao frigorífico e deixe fermentar de 8 a 24 horas antes da cozedura.
Processo de cozedura
-
Pré-aquecer a panela: Coloque uma panela de ferro fundido no forno a 250 °C e deixe aquecer por 15 minutos.
-
Preparar o pão: Coloque o pão sobre papel de alumínio e faça um corte principal na superfície.
-
Assar na panela: Retire a panela do forno, coloque o pão dentro junto com uma pedra de gelo, e cubra com a tampa.
-
Leve ao forno por 20 minutos. Depois, retire a tampa e asse por mais 15 minutos ou até que o pão esteja dourado.
-
Deixe o pão arrefecer por pelo menos 1 hora antes de cortar e servir.
1. Mix the water and sourdough starter: In a bowl, combine the water and active sourdough starter. Stir until the starter is completely dissolved in the water. The liquid should have a milk-like appearance.
2. Add flour and salt: Add the flour and salt, mixing until no dry flour remains. At this stage, the dough may look odd and lumpy, but this is completely normal. Gather all the dough in the center of the bowl, cover with a damp cloth, and let it rest for 1 hour.
3. First “stretch and fold”: Perform the so-called stretches: pull the dough from the sides of the bowl and let it fall back into the center. Repeat until the dough starts to offer resistance. (Tip: watch “stretch and fold” videos online to better understand the technique.) Cover again and let rest for 30 minutes.
4. Repeat the stretch: Repeat the stretch process and let the dough rest for another 30 minutes.
5. First series of folds: Perform the folds as shown in reference videos. Once the dough shows resistance, stop, cover, and let rest for another 30 minutes.
6. Second series of folds and final fermentation: Repeat the folding process, allow the dough to rest, and let the fermentation complete.
7. Signs of complete fermentation
The dough is ready when: It has risen significantly. It easily detaches from the sides of the bowl. The surface does not stick to your fingers. When the bowl is gently shaken, the dough wobbles like jelly.
8. Shape the dough: Divide the dough and shape it into loaves (this recipe makes 2 loaves). Place them in proofing baskets.
9. Refrigerated fermentation: Transfer the baskets to the fridge and let them ferment for 8 to 24 hours before baking.
Baking Process
10. Preheat the pot: Place a cast-iron pot in the oven at 250 °C (480 °F) and let it heat for 15 minutes.
11. Prepare the bread: Place the dough on baking paper and make a main score on the surface.
12. Bake in the pot: Remove the pot from the oven, place the bread inside along with an ice cube, and cover with the lid.
13. Bake for 20 minutes, then remove the lid and bake for another 15 minutes, or until the bread is golden brown.
14. Let the bread cool for at least 1 hour before slicing and serving.